
Many native tools in the ROS ecosystem are only supported on Linux, often making robotics development on other operating systems difficult and tedious. To solve this developer friction, many roboticists have turned to container platforms like Docker to help them work cross-platform.
In this tutorial, we’ll cover how you can quickly get up and running with ROS 1 on your macOS computer – all with the help of Docker containers.
Pulling a Docker image
Docker is a container platform that allows you to run an instance of an operating system on top of a host. It can empower teams to develop robots with unique operating system requirements, regardless of their own system specs, or to work with ROS distributions that are not supported on the host operating system.
A Docker image essentially packages software into standardized units for reproducible development and deployment. It’s a lightweight, standalone, executable piece of software that includes everything needed to run an application – all the code, runtime, system tools, system libraries and settings.
Once you’ve installed Docker on your macOS machine, you can browse Docker Hub for available ROS images. Download (pull) your desired image (in this case, ROS 1 Noetic) from Docker Hub:
$ docker pull ros:noetic-ros-coreVerify that you’ve downloaded the correct image:
$ docker images
REPOSITORY TAG IMAGE ID CREATED SIZE
ros noetic-ros-core 2cf70e4644d9 7 months ago 739MB
Customize the container
Before we run any commands, we need to customize the image by installing a few more packages. To do so, create a file named Dockerfile in an empty directory with the following contents:
FROM ros:noetic-ros-core
RUN apt-get update && apt-get install -y \
ros-noetic-foxglove-bridge
In a new terminal, run the following command to build the image and tag it with the name rosdemo:
$ docker build -t rosdemo .Running the container
You can now start your ROS 1 container. First, let’s create a private docker network named rosnet, then start a container named roscore running in that network:
$ docker network create rosnet
$ docker run --rm --name roscore --hostname roscore --network rosnet -it rosdemo roscore
The --rm flag will remove this container after it exits (to save disk space), --name will give the running container an optional name, and the -it option will open an interactive terminal.
Publishing data in the container
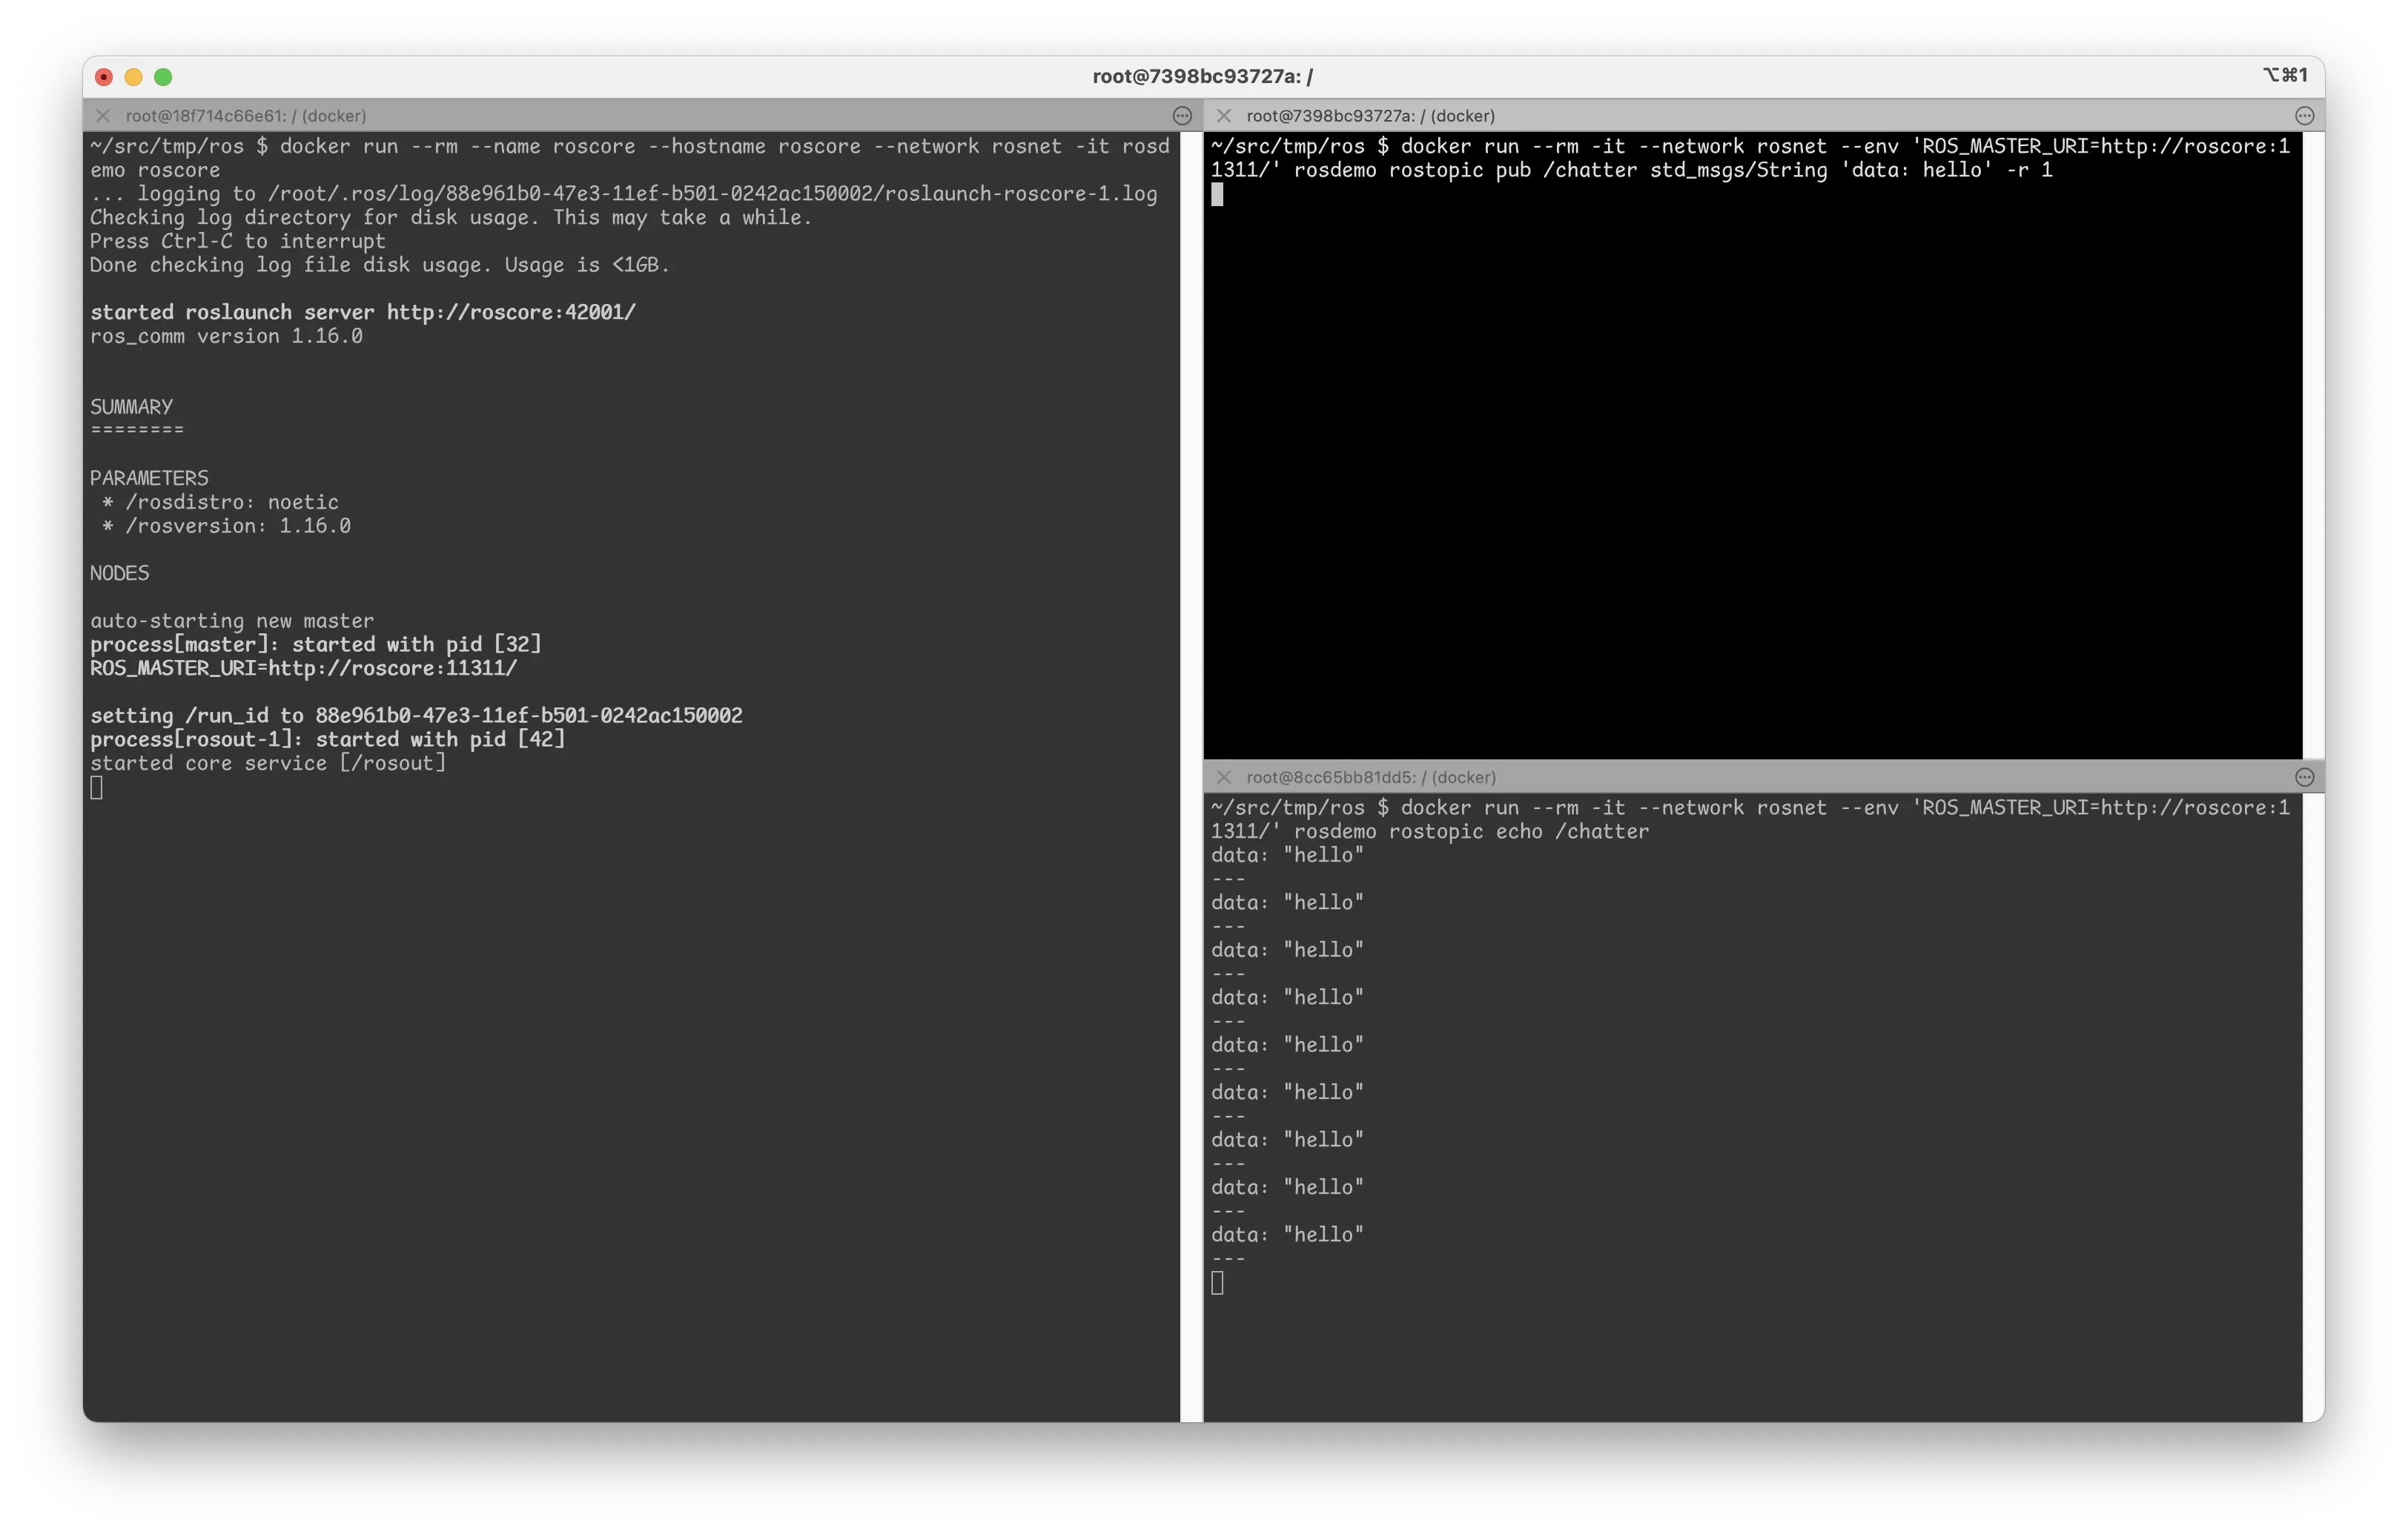
Now, let’s start a second container and connect to the ROS network. We will need to set the ROS_MASTER_URI environment variable to let ROS know where to find the running roscore. In another terminal, run the following command and verify it returns the list of available topics:
$ docker run --rm -it --network rosnet --env 'ROS_MASTER_URI=http://roscore:11311/' rosdemo rostopic list
/rosout
/rosout_agg
If you don’t see any topics, or see ERROR: Unable to communicate with master!, check you correctly specified the --network and --env options above so that both containers are running on the same network.
Now let’s publish a message on the /chatter topic:
$ docker run --rm -it --network rosnet --env 'ROS_MASTER_URI=http://roscore:11311/' rosdemo rostopic pub /chatter std_msgs/String 'data: hello' -r 1In another terminal, start another docker container to verify you can see the message being published:
$ docker run --rm -it --network rosnet --env 'ROS_MASTER_URI=http://roscore:11311/' rosdemo rostopic echo /chatterYour output should look similar to the following. Keep in mind that all three containers are fully isolated, and are talking to each other the Docker network we created.
Visualizing the data in Foxglove
Next, let’s verify that we’re publishing ROS messages in our Docker container by visualizing them in Foxglove.
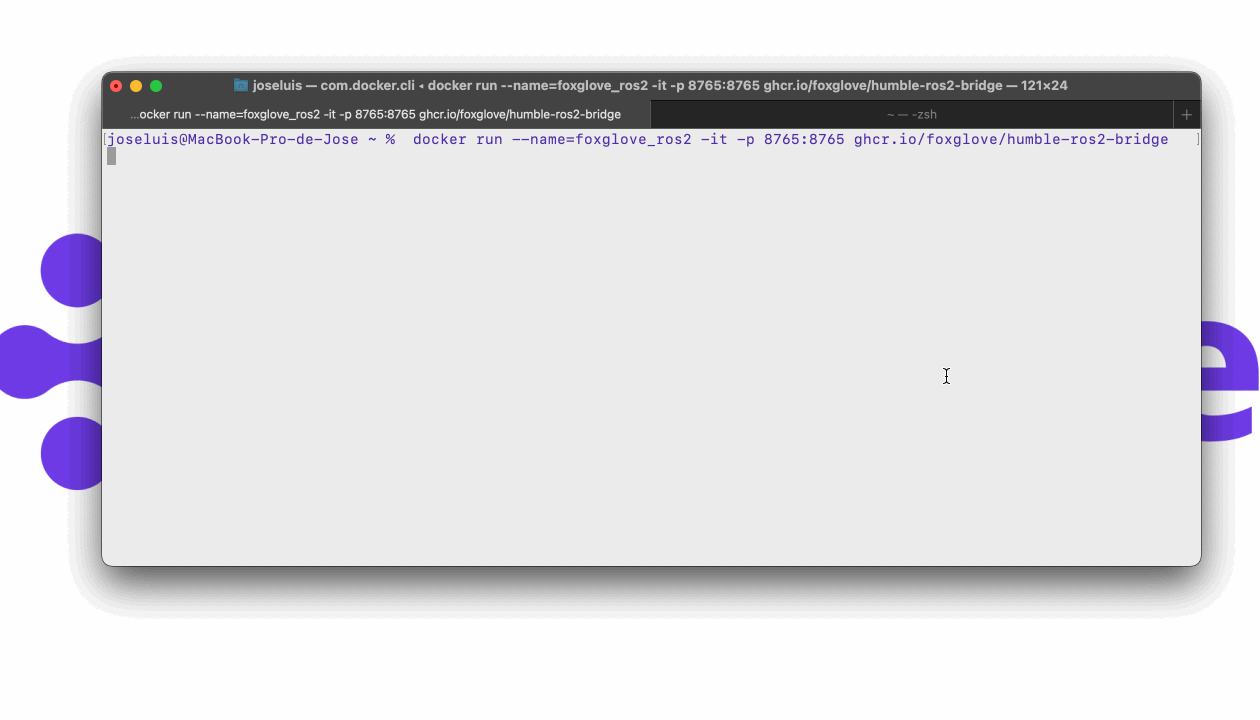
Start another container running foxglove_bridge. In order to connect Foxglove to the container, we must expose port 8765 from the container to the host machine using the -p flag:
$ docker run --rm -it --network rosnet --env 'ROS_MASTER_URI=http://roscore:11311/' -p 8765:8765 rosdemo roslaunch foxglove_bridge foxglove_bridge.launchNow, open your Foxglove desktop app, initiate a Foxglove WebSocket connection with the default URL. You can also use the following direct link:
https://app.foxglove.dev/~/view?ds=foxglove-websocket&ds.url=ws%3A%2F%2Flocalhost%3A8765
Add a Raw Messages panel and subscribe to the /chatter topic to verify that it shows the message “hello”:
You’ve now successfully run ROS 1 in a Docker container, and connected it to Foxglove to visualize that data.
Stay tuned
With Docker containers, you can seamlessly continue development across different platforms – regardless of your robotics framework’s constraints.
Reach out to us directly in our Discord community to ask questions or request a topic for the next tutorial. And stay tuned for a tutorial on installing ROS 2 on macOS with Docker.