If you are on Ubuntu Jammy (22.04 LTS), we recommend installing Humble Hawksbill or Iron Irwini instead.
Though it’s possible to install ROS 2 from source or archive, the easiest way to get ROS running on your Ubuntu machine is to install its corresponding Debian packages using apt, a command line utility for installing and managing packages on Linux distributions.
In this tutorial, we’ll walk you through installing the Debian packages for ROS 2 Galactic Geochelone on Ubuntu Focal (20.04.4 LTS).
Set up a UTF-8 system locale
Before installing anything, you’ll need to make sure your system locale supports UTF-8. Locale issues can cause unexpected problems further down the line, when using various ROS tools and libraries.
Run $ locale in a terminal window to view your currently installed locale – if UTF-8 appears in the listed output, you’re all set!
Otherwise, you’ll need to set up your locale in one of two ways – choose a locale on your system or generate a new one.
$ locale -a # on system with UTF-8 locales
C
C.UTF-8
de_AT.utf8
de_BE.utf8
de_CH.utf8
en_US.utf8
...
POSIX
If your system doesn’t have any UTF-8 locales set up already, generate the desired locale yourself:
$ locale -a # on system without UTF-8 locales
C
POSIX
$ sudo apt update && sudo apt install locales
$ sudo locale-gen en_US.UTF-8
$ locale -a
C
en_US.UTF-8 # newly generated locale
POSIX
Finally, update your system with your desired option (e.g. en_US.UTF-8):
$ sudo update-locale LC_ALL=en_US.UTF-8 LANG=en_US.UTF-8
$ export LANG=en_US.UTF-8
Open a new terminal window, and run $ locale again to verify that your system has been successfully updated.
Set up your source repos
Ubuntu programs are stored in repositories that make installing new software easy and secure. Ubuntu’s four main repositories are as follows:
- Main (Canonical-supported open-source software)
- Universe (community-maintained open source software)
- Restricted (proprietary device drivers)
- Multiverse (proprietary software)
For the purposes of installing ROS, we need to enable the Ubuntu Universe repository:
$ sudo apt install software-properties-common
$ sudo add-apt-repository universe
Now you can add the ROS 2 repository to your system. Authorize the public GPG (GNU Privacy Guard) key provided by ROS, then add the ROS 2 repository to your sources list:
$ sudo apt update && sudo apt install curl gnupg lsb-release
$ sudo curl -sSL https://raw.githubusercontent.com/ros/rosdistro/master/ros.key -o /usr/share/keyrings/ros-archive-keyring.gpg
$ echo "deb [arch=$(dpkg --print-architecture) signed-by=/usr/share/keyrings/ros-archive-keyring.gpg] http://packages.ros.org/ros2/ubuntu $(source /etc/os-release && echo $UBUNTU_CODENAME) main" | sudo tee /etc/apt/sources.list.d/ros2.list > /dev/null
Install ROS 2 packages
Install your ROS 2 Galactic desktop setup with the following commands:
$ sudo apt update # update your apt repo caches
$ sudo apt install ros-galactic-desktop
This will install a few different components like the core ROS libraries, developer tools like RViz, and a set of beginner-friendly tutorials and demos to help you get started.
Check out the official REP for a full breakdown of the ROS 2 packages that are included in each distribution (i.e. core, base, desktop).
Source your setup file
Typically, you would need to source your setup file every time you open a terminal to use ROS:
$ source /opt/ros/galactic/setup.bashTo save yourself the time, you can automatically trigger this step every time you launch a new shell. Run the following commands if you’re using a bash shell:
echo "source /opt/ros/galactic/setup.bash" >> ~/.bashrc
source ~/.bashrc
Run the following commands if you’re using a zsh shell:
echo "source /opt/ros/galactic/setup.zsh" >> ~/.zshrc
source ~/.zshrc
Run some examples
After completing the desktop install, let’s make sure that our APIs are working properly.
**Run the example C++ talker **at /opt/ros/galactic/lib/demo_nodes_cpp/talker:
$ ros2 run demo_nodes_cpp talkerThe output should confirm that the talker is successfully publishing messages:
[INFO] [1652382860.246687611] [talker]: Publishing: 'Hello World: 1'
[INFO] [1652382861.250208871] [talker]: Publishing: 'Hello World: 2'
[INFO] [1652382862.246508551] [talker]: Publishing: 'Hello World: 3'
...
In another terminal window, **run the example Python listener **at /opt/ros/galactic/lib/demo_nodes_py/listener:
$ ros2 run demo_nodes_py listenerThe output should confirm that the listener is hearing the published messages:
[INFO] [1652382936.495044030] [listener]: I heard: [Hello World: 1]
[INFO] [1652382937.478216343] [listener]: I heard: [Hello World: 2]
[INFO] [1652382938.487370309] [listener]: I heard: [Hello World: 3]
...
Both the C++ and Python APIs are working properly!
NOTE: If you’re experiencing issues here, make sure that you’ve enabled multicast – the network interface needs this in order to communicate via DDS.
Run the following commands in two separate terminal windows:
$ ros2 multicast receive
$ ros2 multicast send
If the first command does not return a successful output (i.e. Received from xx.xxx.xxx.xx:43751: 'Hello World!'), try updating your firewall configuration:
$ sudo ufw allow in proto udp to 224.0.0.0/4
$ sudo ufw allow in proto udp from 224.0.0.0/4
Then, restart your terminal and try starting up your talker and listener again.
What’s next
Continue with the official ROS 2 tutorials to configure your environment, record data, and create a workspace and packages.
To uninstall ROS 2, remove the repository from your system completely:
$ sudo apt remove ~nros-galactic-desktop && sudo apt autoremove
$ sudo rm /etc/apt/sources.list.d/ros2.list
$ sudo apt update
$ sudo apt autoremove
$ sudo apt upgrade # for previously shadowed packages
Visualize and analyze your data with Foxglove
Once you’ve gotten the lay of the land, start visualizing data to understand what’s going on under the hood of your robots.
This would be a good time to check out the specs for the MCAP file format. Not only are MCAP files smaller (and more performant!) than standard ROS 2 files, they’re also completely self-contained (unlike ROS 2 files that draw from message definitions living on your hard drive). This allows you to easily share these files with teammates for visualization. By adhering to a common container format, the MCAP file format encourages interoperability among third-party developer tools like Foxglove.
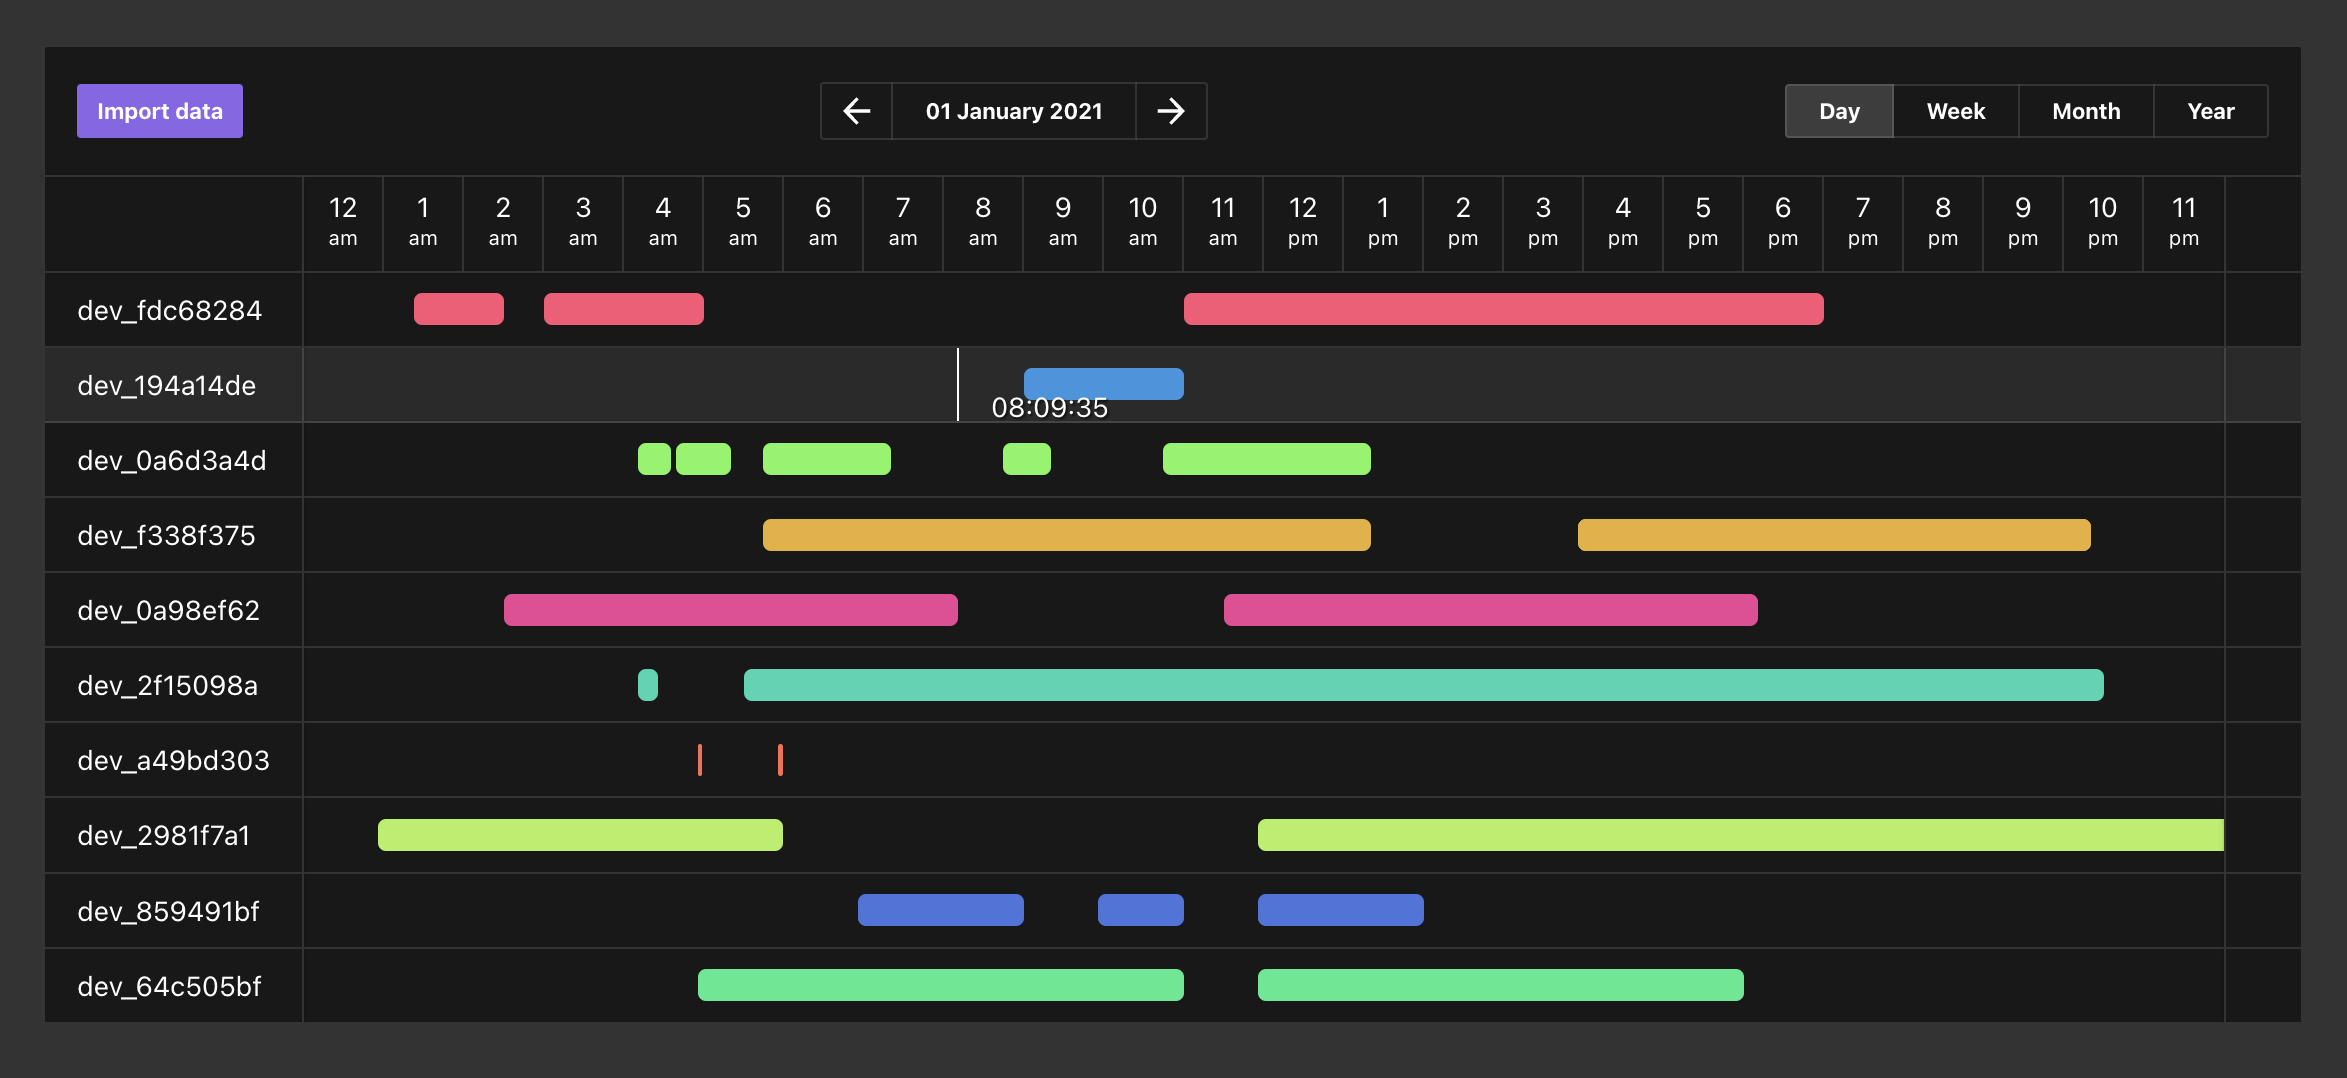
Foxglove provides a convenient mcap CLI tool to help you convert your ROS 2 (.db3) files into MCAP (.mcap) files. These files can then be imported directly into Foxglove, so your whole team can collaborate on organizing and tagging your data:

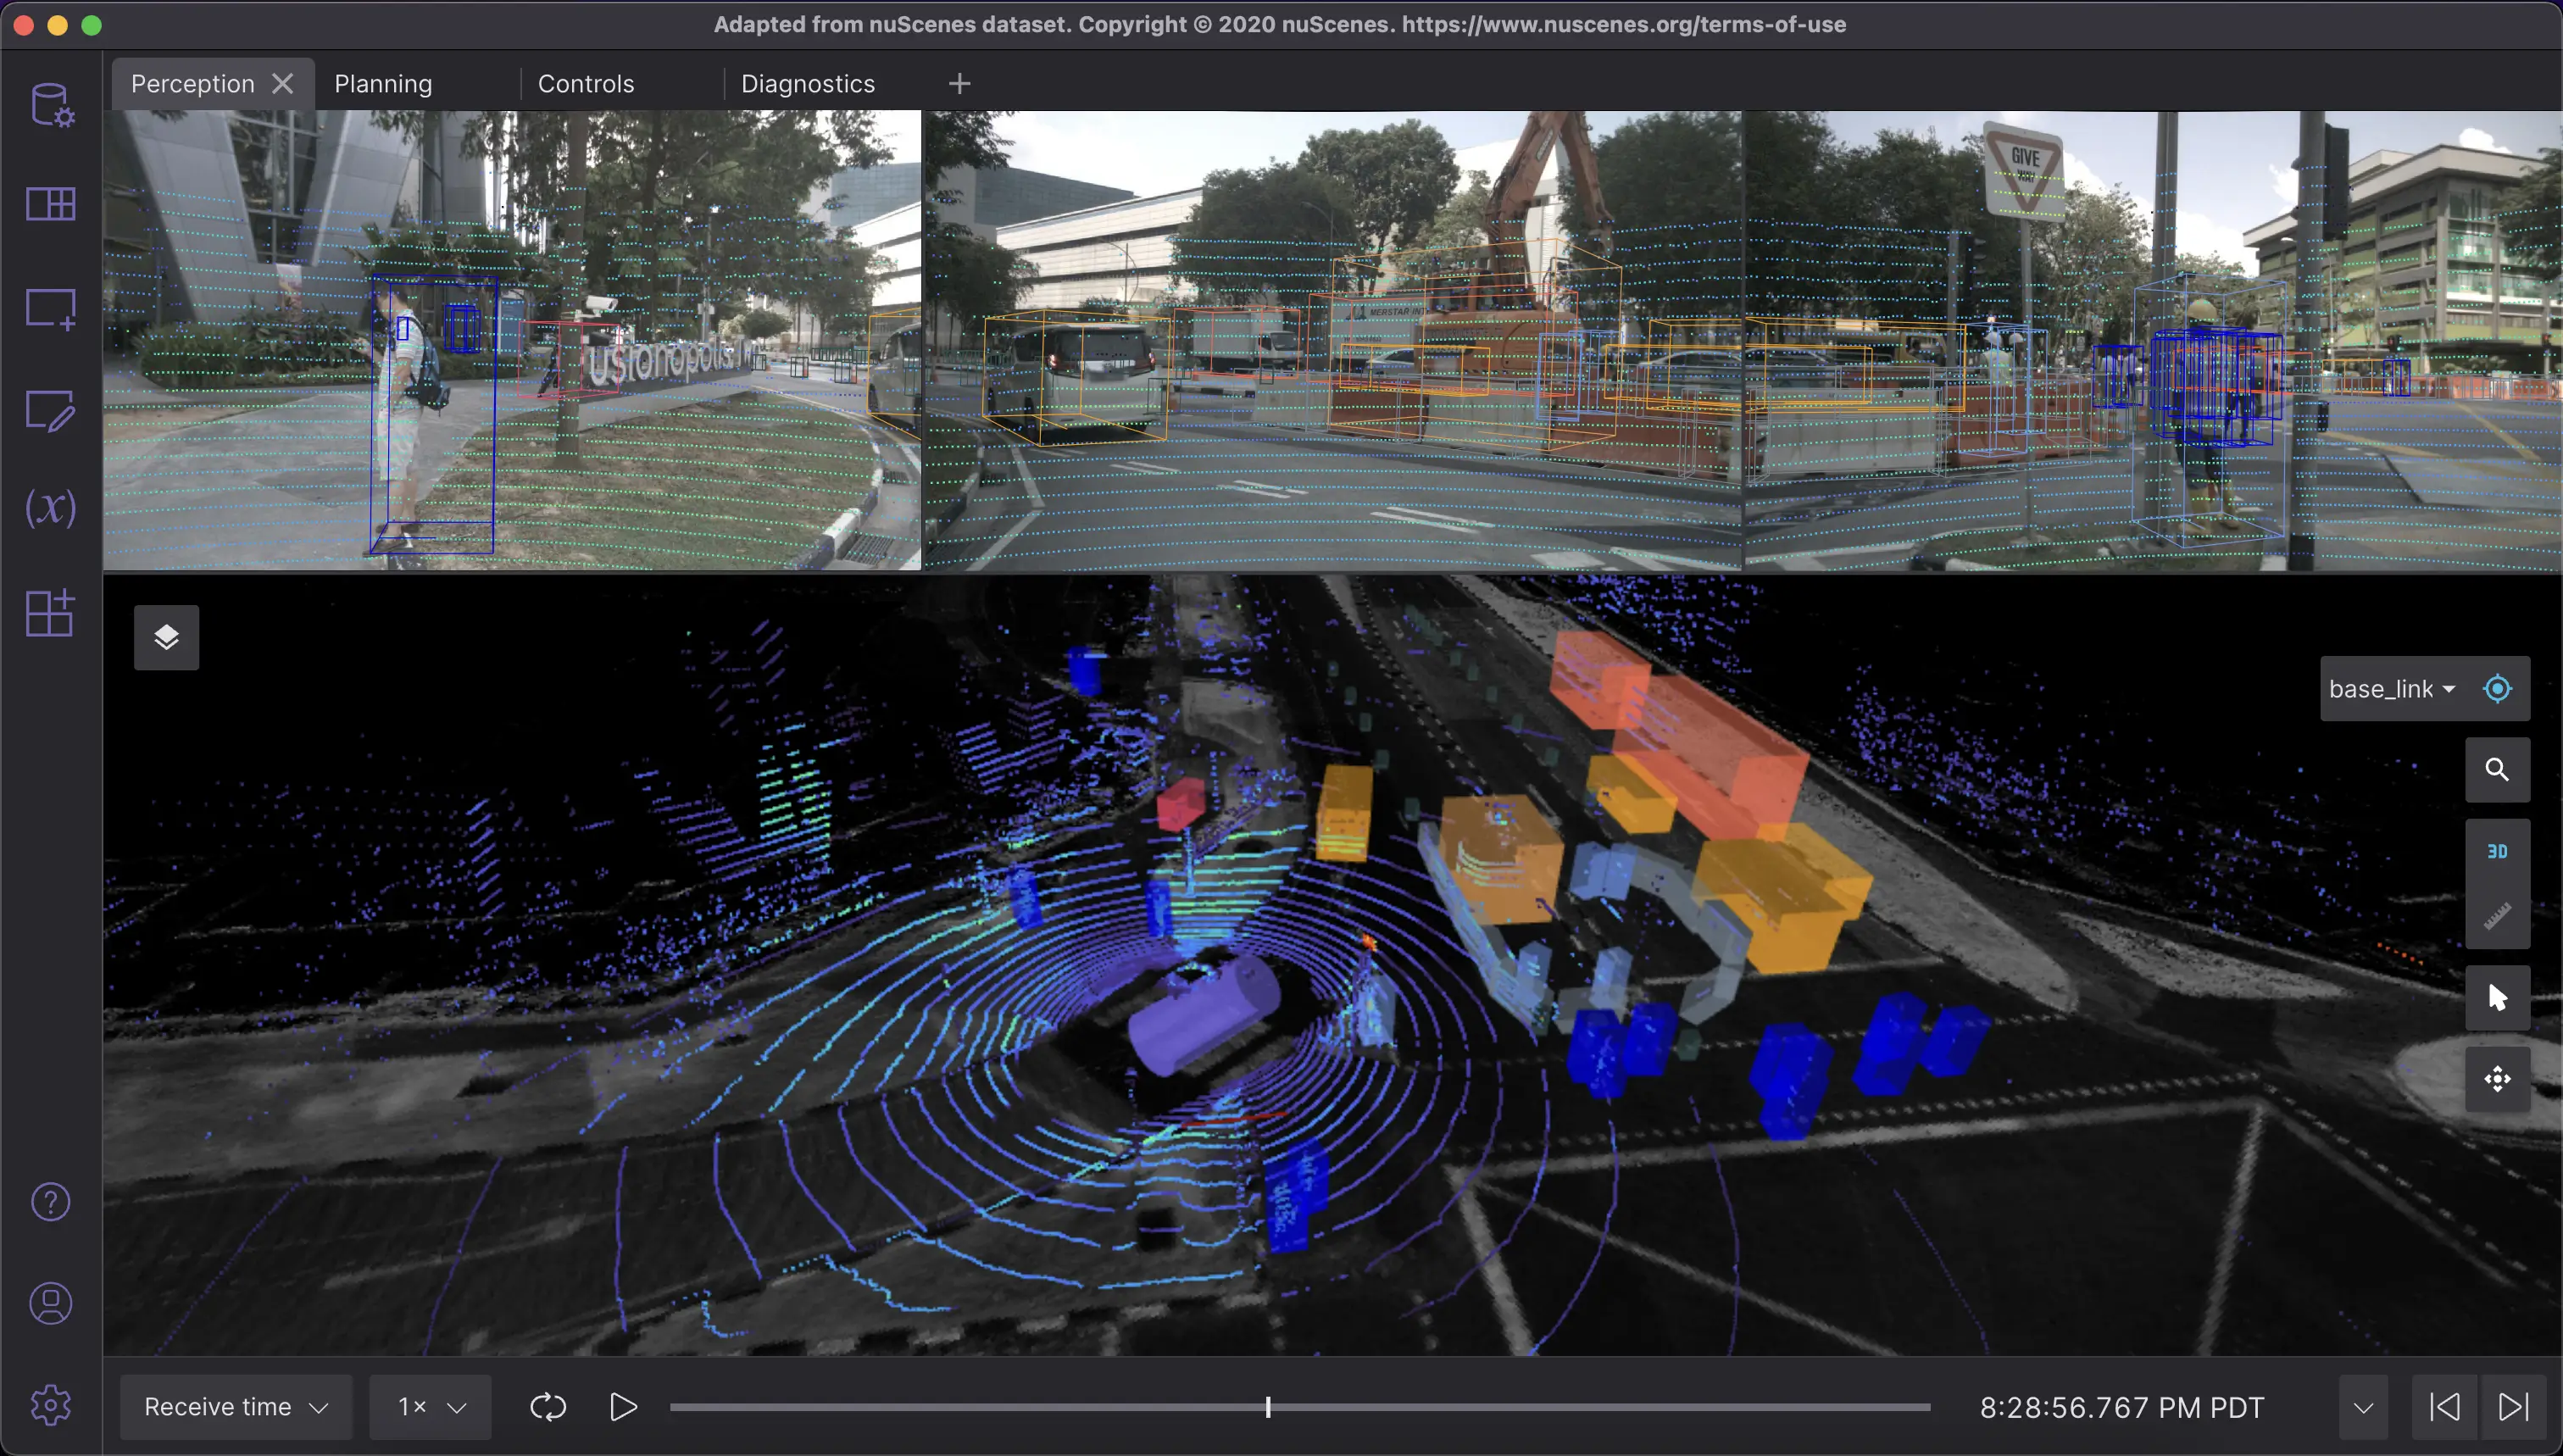
They can also be dragged and dropped into Foxglove for instant rich visualizations. Load up your data to view camera images, display 3D markers, review log messages, and more:
Join our Discord community to ask questions and learn more.