The Foxglove Bridge and Tailscale VPN
How to set up live telemetry for your ROS system.

When developing autonomous robots or vehicles, test time is limited and precious. Being able to spot issues in real time can save hours of debugging, prevent crashes, and allow you to make the most of your testing time.
In this tutorial, you’ll learn how to set up live telemetry for your ROS system using the Foxglove Bridge, a VPN (we’ll use Tailscale), and a mobile data connection. This setup lets you:
- Monitor system performance in real time
- Validate parameters before starting the test
- Send commands on the fly
- Use the same interface for both live and MCAP data.
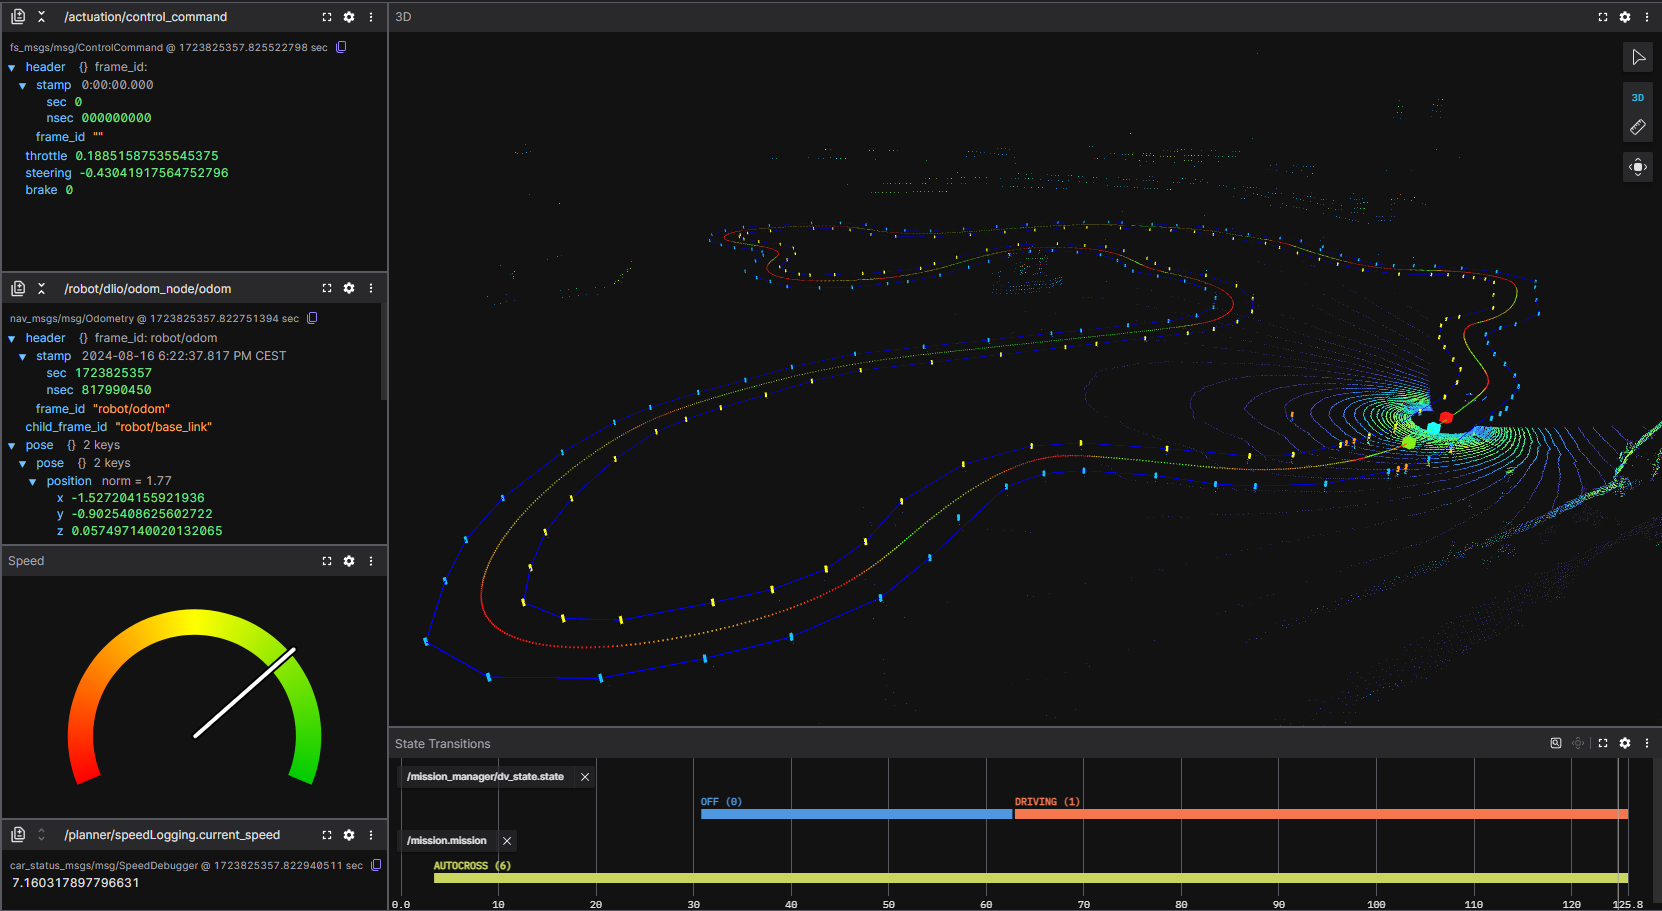
We’re applying this setup on an autonomous electric Formula-style race car competing in Formula Student events. With live telemetry, we can monitor how the car reacts to parameter changes in real time—no need to offload logs between runs. This dramatically improves our testing efficiency.
In this tutorial we’ll show you how you can set up your own telemetry for your device.
1. Installation.
Install Foxglove Bridge.
sudo apt install ros-$ROS_DISTRO-foxglove-bridgeSet up VPN (Tailscale)
You can choose any vpn, but for this tutorial we will be using Tailscale, which has a free tier for 3 accounts and up to 100 devices.
Installing Tailscale can be done with the following command (when on Linux)
curl -fsSL https://tailscale.com/install.sh | shor by following the installation guide
Once installed and configured, Tailscale can be started with tailscale up. With tailscale status you’ll see all the devices added to Tailscale and their status.
2. Configuration.
You can run the foxglove bridge manually in a terminal or add it to your launch files as follows
ROS 1
<launch>
  <!-- Including in another launch file -->
  <include file="$(find-pkg-share foxglove_bridge)/launch/foxglove_bridge_launch.xml">
    <arg name="port" value="8765"/>
    <!-- ... other arguments ... -->
  </include>
</launch>
ROS 2
<launch>
  <!-- Including in another launch file -->
  <include file="$(find-pkg-share foxglove_bridge)/launch/foxglove_bridge_launch.xml">
    <arg name="port" value="8765"/>
    <!-- ... other arguments ... -->
  </include>
</launch>
There are also several parameters that can be tuned to your use case. All of them can be found in the documentation
3. Connect.
After installing the Foxglove Bridge and Tailscale on your robot and your local machine:
- Get the robot’s Tailscale IP address using tailscale status or from the admin console.
- Open Foxglove.
- Choose “Foxglove WebSocket” as the connection type and enter:
ws://<robot-ip>:8765You should now be able to see your robot!
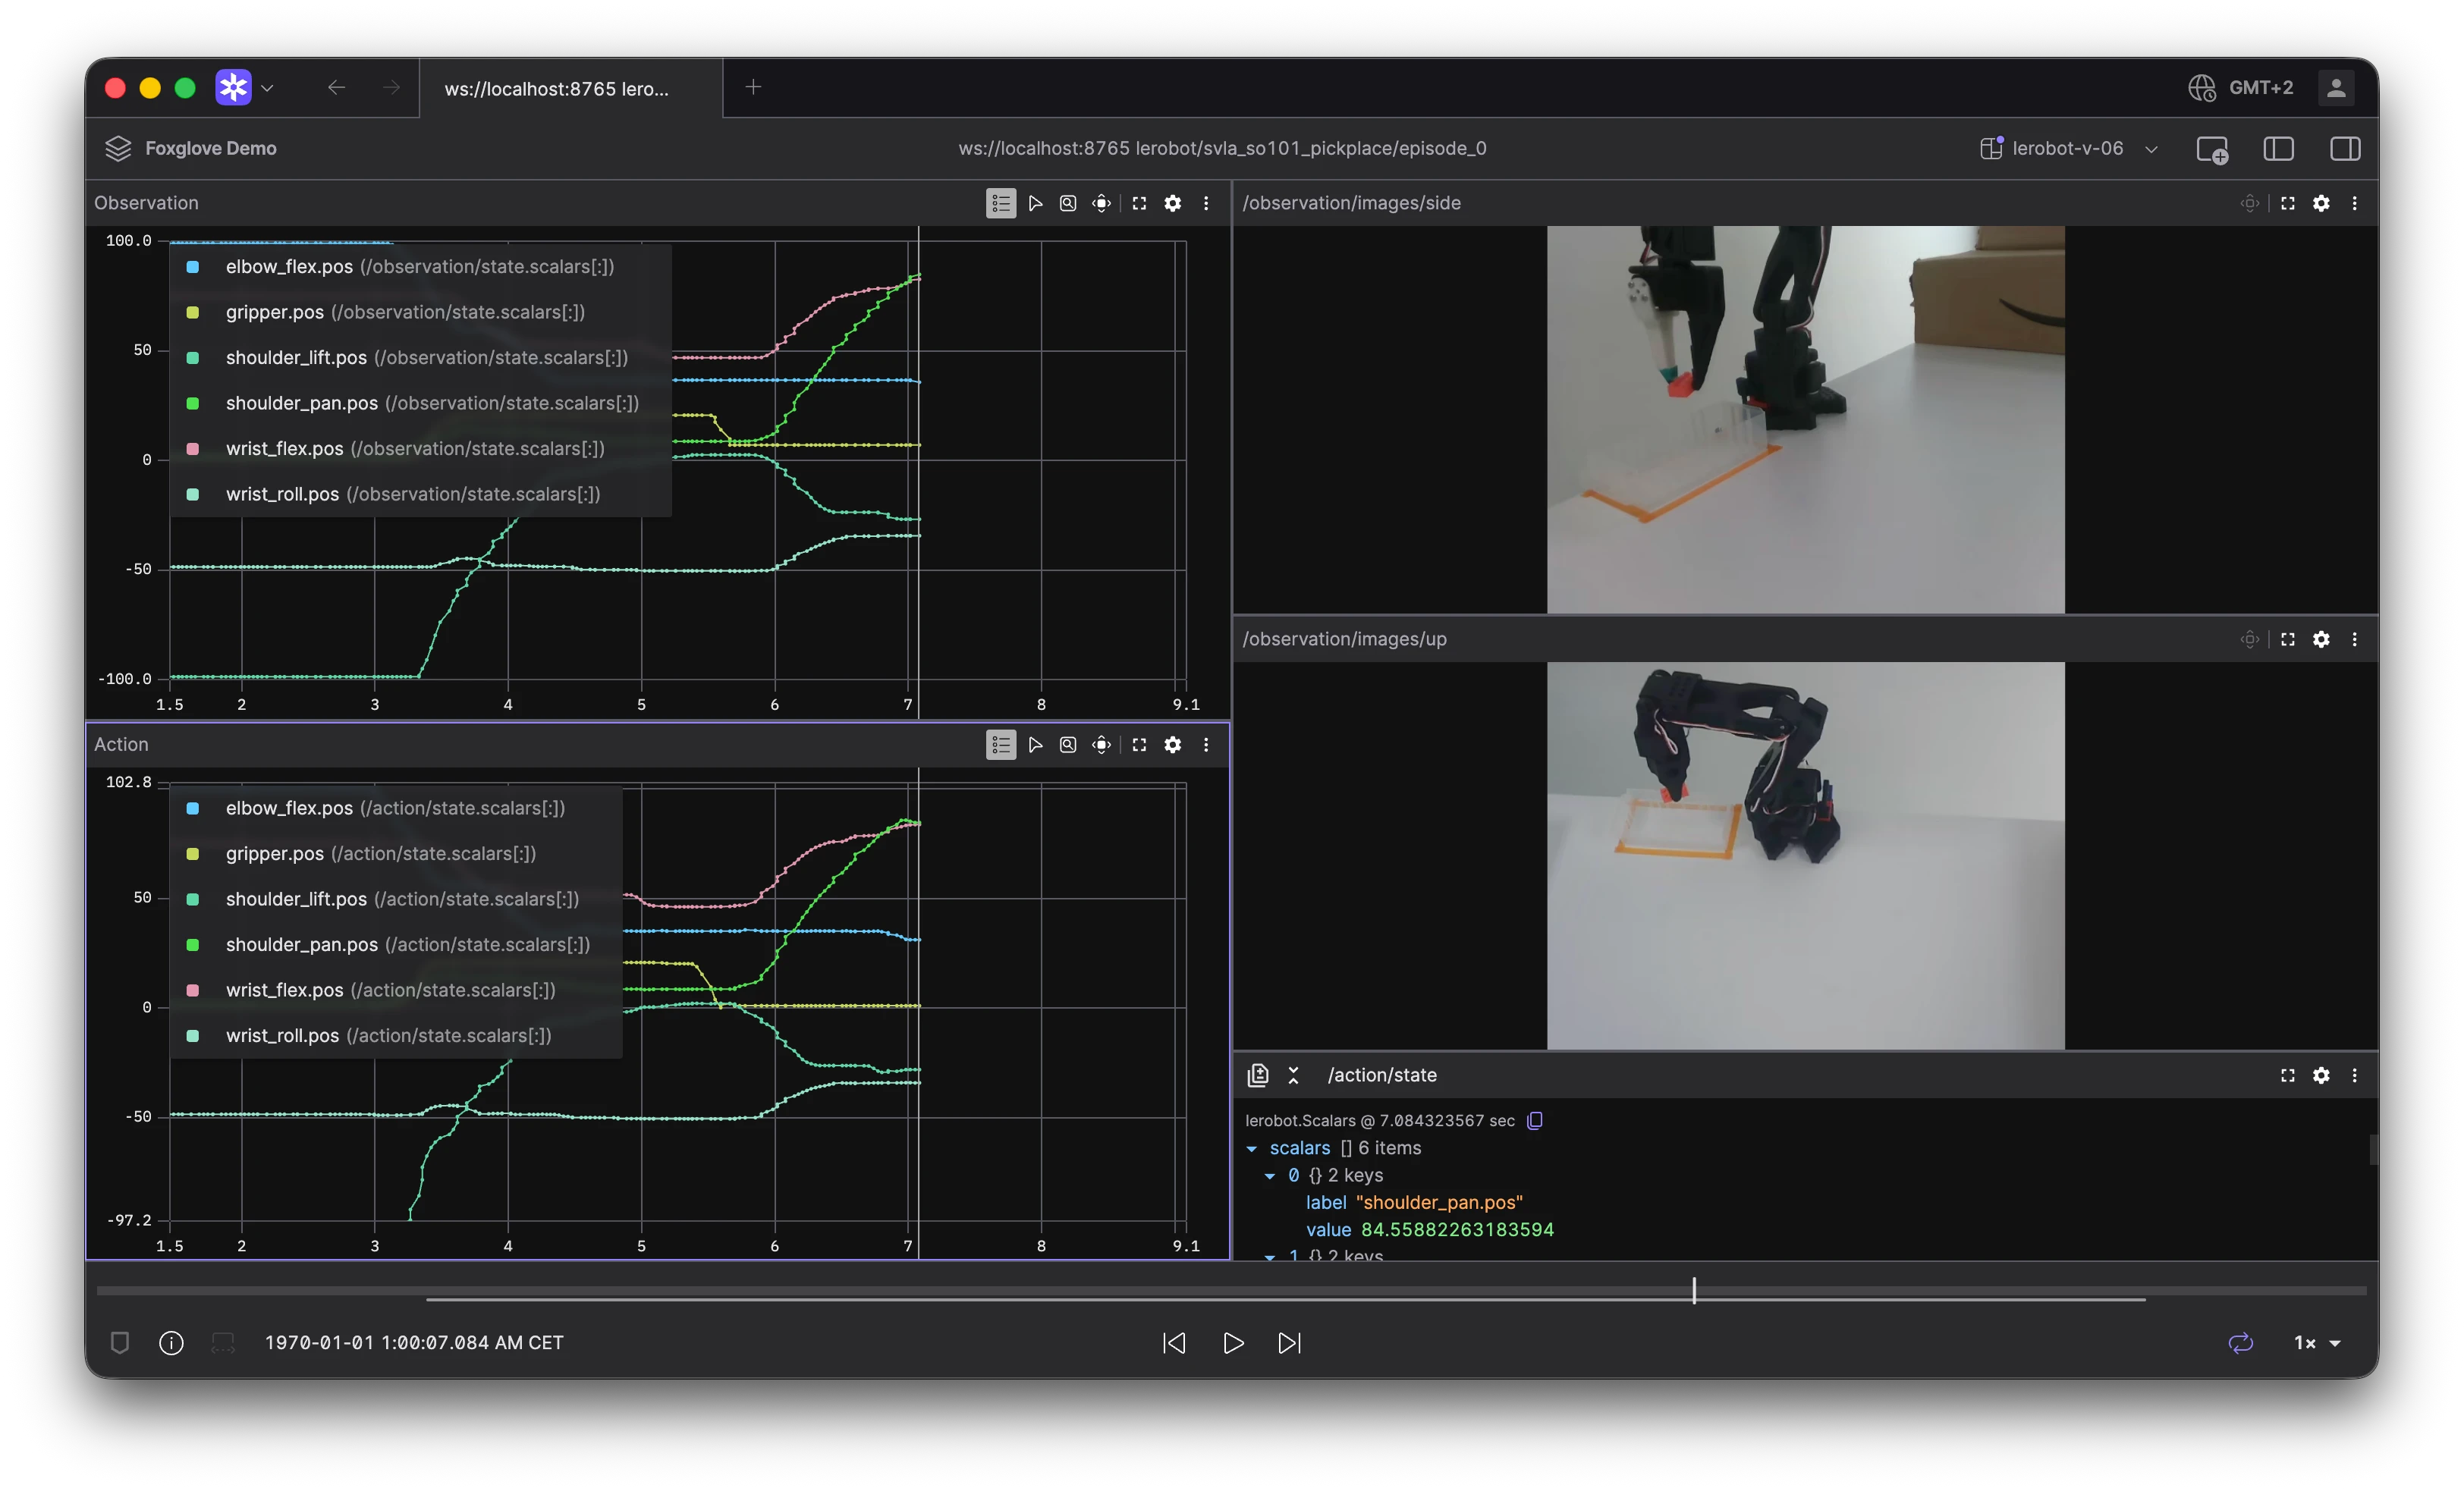
Powering Physical AI with visual context.
Foxglove is the leading platform for robotics and Physical AI developers—built from the ground up to support the most advanced, scalable, and geospatially aware visualizations in the industry. From perception and control to simulation and full-system integration, Foxglove provides the tools you need to deeply understand your robots, debug faster, and deploy reliable autonomy with confidence.
Full support for ROS and non-ROS using the Foxglove SDK.