
tl;dr This article details how I turned my Steam Deck into a controller and visualization station for my LeKiwi mobile base. Using Pixi to install ROS 2, Distrobox to run the Foxglove desktop app, and the built-in controller with the ROS 2 joy node, I now have a portable, all-in-one setup for driving the robot and monitoring its data in Foxglove simultaneously.
Context / Why a Steam Deck?
A few years ago, I wrote about using a Steam Deck as a robot controller to drive and visualize my mecanum-wheeled robot AKROS. That setup worked well, but getting ROS 2 running on the Steam Deck’s operating system required some workarounds at the time. A lot has changed since then.
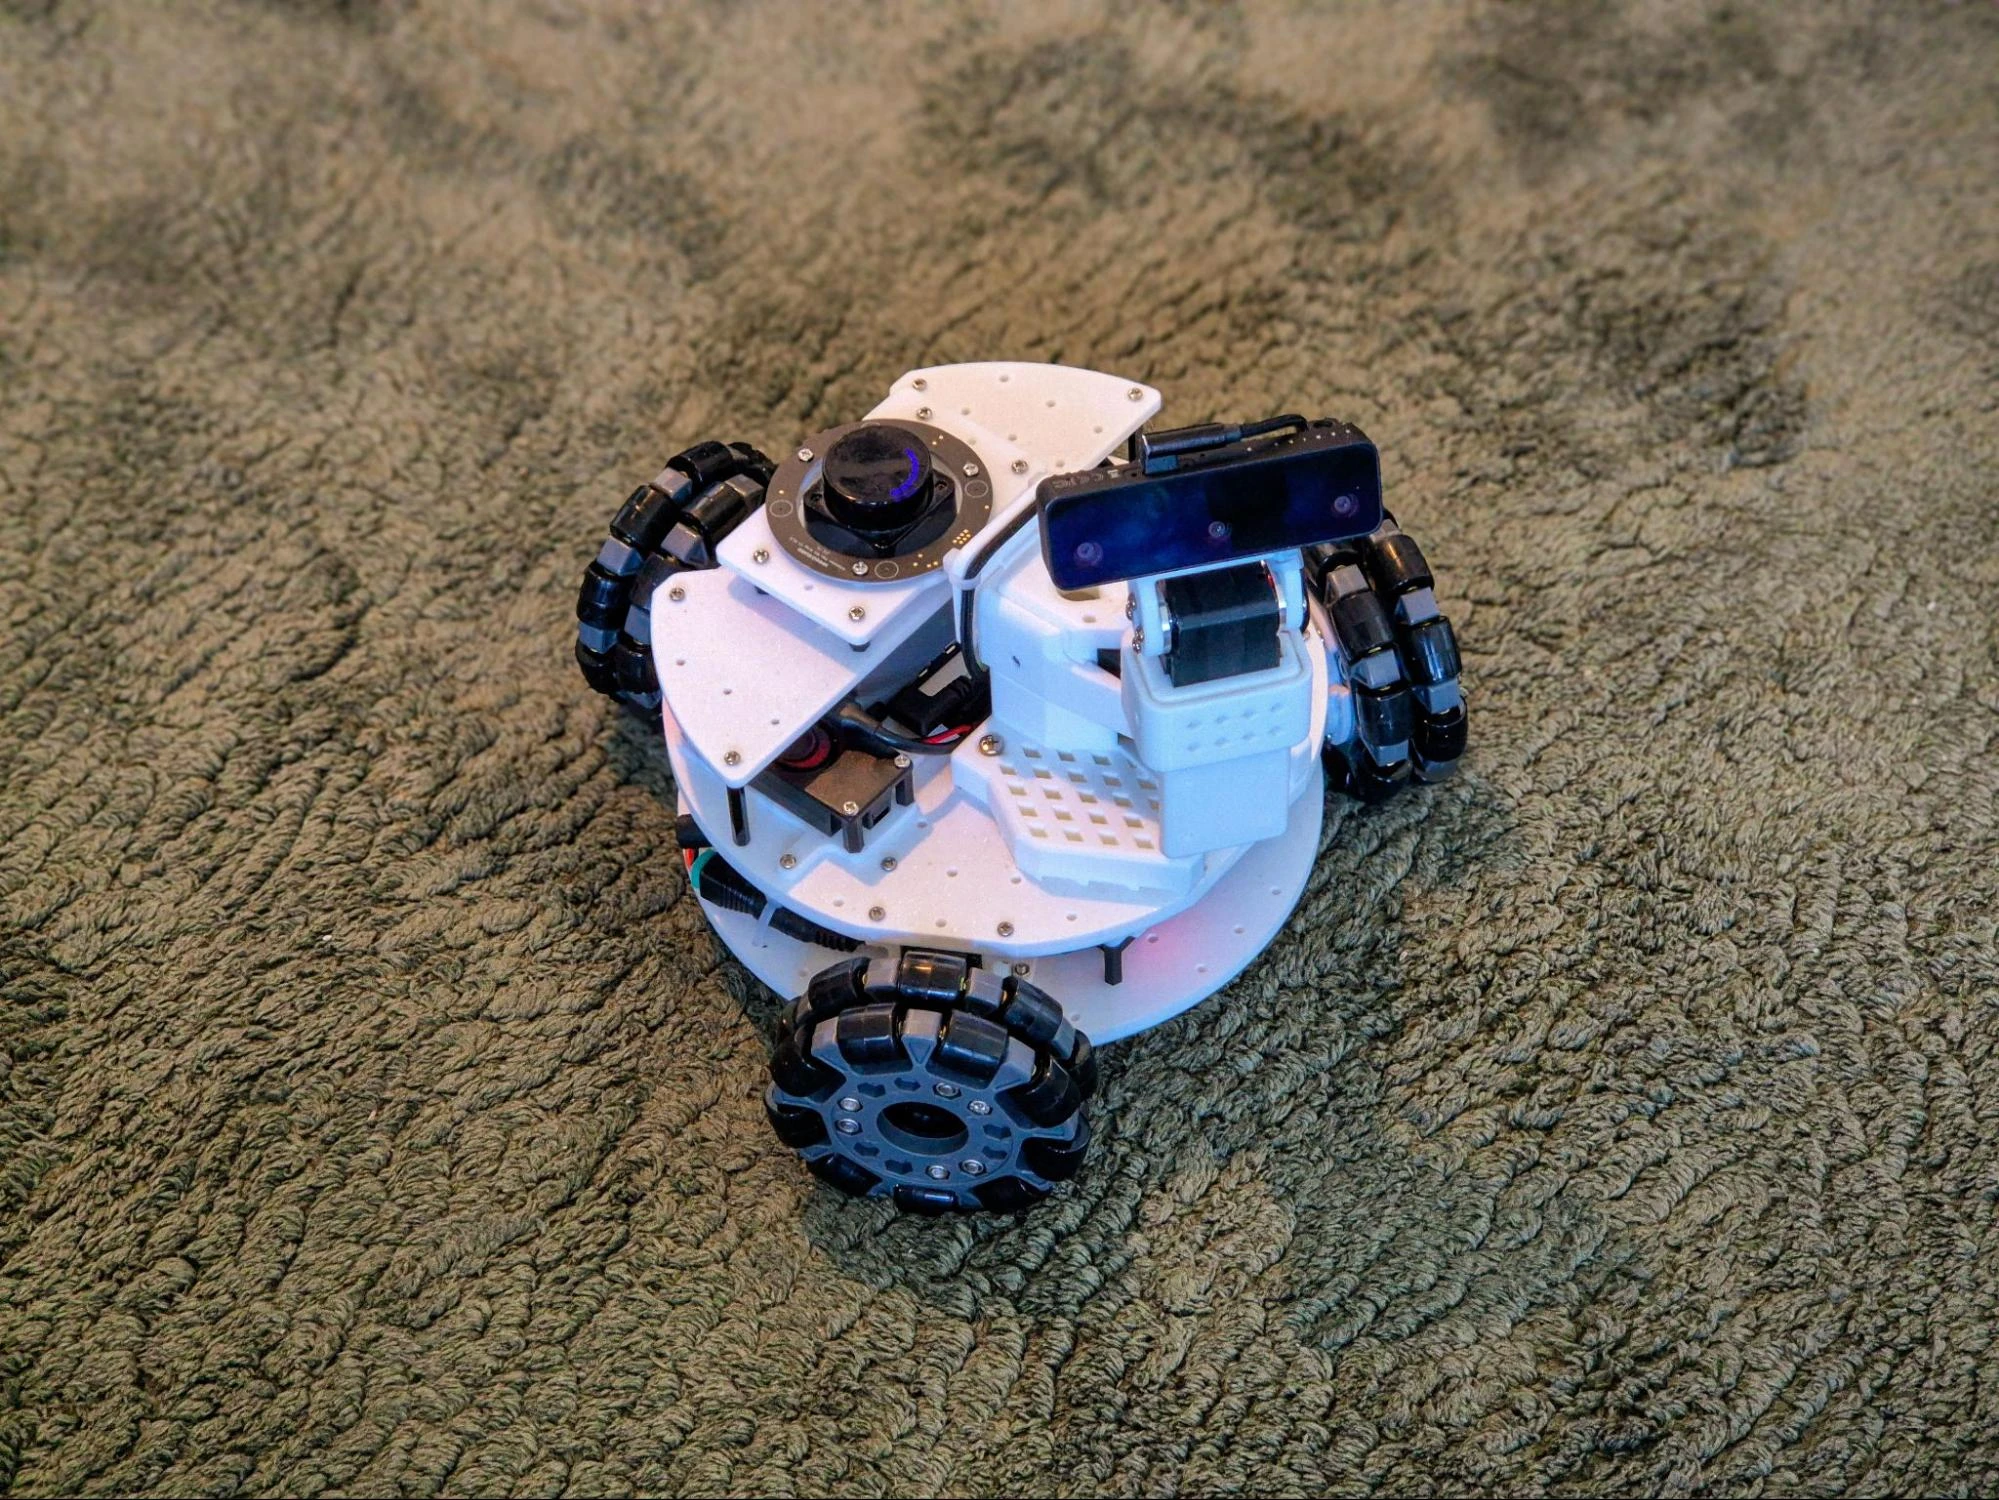
Last year, I retired the AKROS platform and started working on a new robot - LeKiwi - to convert it to ROS 2 and make minor hardware upgrades as I progressed. The build has progressed a lot - I covered the LiDAR integration and the camera calibration. The robot now has a complete perception stack, ROS 2 Control integration, and communicates via Zenoh and Tailscale.
With all of that in place, I wanted a portable way to drive and monitor it without hauling a laptop around, which brought me back to the Steam Deck. The idea is straightforward: use the Steam Deck’s built-in controller to drive the LeKiwi, and use Foxglove to visualize what the robot sees and does - all from a single handheld device. And since the Steam Deck is a full-fledged computer, I can even develop code on it when I need to.
Setting up ROS 2 using Pixi
When I first set up ROS 2 on the Steam Deck two years ago, I used Distrobox to create a full Ubuntu container and installed ROS 2 inside it. The Steam Deck runs on SteamOS, which is based on Arch Linux, so there is no native ROS 2 support available. It worked, but having to enter a container to run ROS commands added friction, and managing dependencies between the host and container was annoying.
This time, I used Pixi, a package manager that can install ROS 2 packages via the RoboStack project. Unlike Distrobox, Pixi does not need a container - it resolves and installs packages into a project-local directory, similar to how conda works. No separate OS image to maintain, just native binaries managed by a single pixi.toml file. I already use this to run ROS 2 on my MacBook, so extending the same workflow to the Steam Deck was straightforward.
Installing Pixi
Installation is a one-liner using the following command. Then follow this tutorial to set up your favorite ROS 2 distro (I am currently using Kilted).
curl -fsSL https://pixi.sh/install.sh | shCreating a ROS 2 workspace
Once Pixi is installed, setting up a ROS 2 workspace is easy:
pixi init ros2_ws -c robostack-kilted -c conda-forge
cd ros2_ws
This creates a new Pixi project where you can add any ROS 2 packages you need using pixi add <package-name>.
Setting up Foxglove
There are two ways to run Foxglove on the Steam Deck: the desktop app or the browser app. Both methods connect to your robot using the Foxglove bridge, which runs on the LeKiwi’s Raspberry Pi and exposes ROS 2 topics over a WebSocket connection. The bridge is the only additional piece needed on the robot side.
Option 1: Desktop app via Distrobox
Foxglove is not available on the Pixi registry, and there is no native Arch Linux package for it either. So for the desktop app, Distrobox is still my preferred option.
First, install Podman and Distrobox, then create and enter an Ubuntu container:
sudo pacman -S podman distrobox
distrobox create --name ubuntu24 --image ubuntu:24.04
distrobox enter ubuntu24
Inside the container, install Foxglove following the official instructions:
sudo apt update && sudo apt install foxglove-studio libasound2t64The trick I learned this time is to export it as a host application, so you do not have to enter the container every time. This creates an executable on SteamOS that you can pin to the desktop or taskbar:
distrobox-export --app foxglove-studio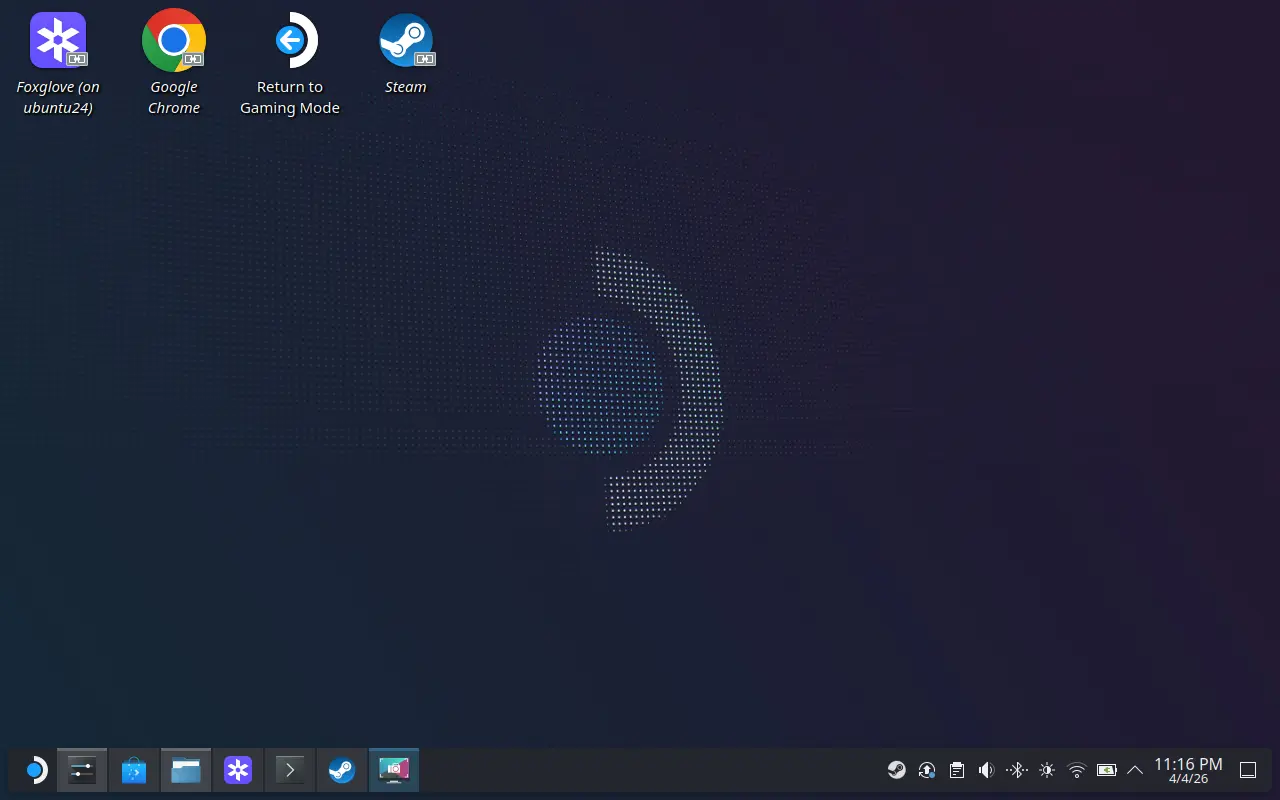
Option 2: Browser app
If you would rather skip the Distrobox setup entirely, Foxglove also has a browser-based version. No installation or workarounds - just open it in the Steam Deck’s browser and connect to the Foxglove bridge running on the robot. In my testing, both options performed about the same, though I did not push either to its limits. I ended up using the desktop app since I already had Distrobox set up, but the browser option is a good alternative if you want to avoid that overhead entirely.
Controller mapping
From the Steam Deck settings, you can map the controller inputs to buttons and axes of a game controller in desktop mode. I reused the mapping I used with my previous robot: trackpads and back buttons as desktop mouse controls, and the remaining buttons mapped to a standard gamepad.
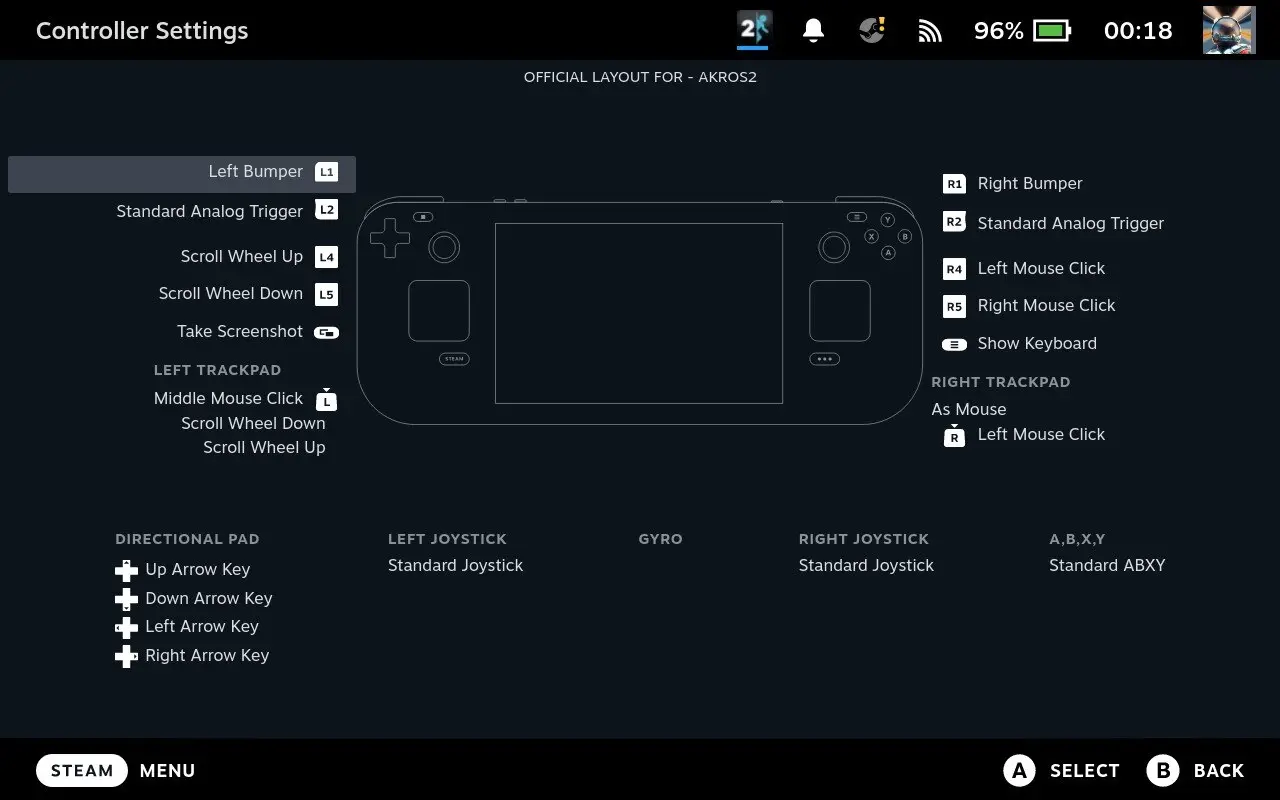
With this or any other mapping, you can run the default joy node without any special configuration.
Joy node setup
One of the nice things about the Pixi setup is how easy it is to add ROS 2 packages. Getting the joy node running is as simple as:
pixi add ros-kilted-joyAfter that, you can launch it using:
pixi shell
ros2 run joy joy_node

# OR
pixi run ros2 run joy joy_node
The joy node reads input from the controller and publishes sensor_msgs/msg/Joy messages, which can then be consumed on the LeKiwi side to drive the robot.
You can also create a task in your pixi.toml:
[tasks]
joy = "ros2 run joy joy_node"
With this, a single pixi run joy command is all you need for teleoperation.
Auto-start on boot
To take this one step further, I created a systemd service that automatically runs joy when the Steam Deck boots up and kills the process on shutdown:
[Unit]
Description=Joy Node (pixi run joy)
After=network-online.target
Wants=network-online.target

[Service]
Type=simple
User=deck
WorkingDirectory=/home/deck/ros2_ws
ExecStartPre=/bin/sleep 15
ExecStart=/home/deck/.pixi/bin/pixi run joy
ExecStop=/bin/bash -c 'pkill -f "lib/joy/joy_node" || true'
Restart=on-failure
RestartSec=10

[Install]
WantedBy=multi-user.target
To enable the service:
sudo cp joy.service /etc/systemd/system/joy.service
sudo systemctl daemon-reload
sudo systemctl enable joy.service
sudo systemctl start joy.service
Now, when the Steam Deck turns on, it immediately starts publishing Joy messages. I would not recommend it if you have more than one robot on your network, but for a single robot, it is not a problem.
Integration testing
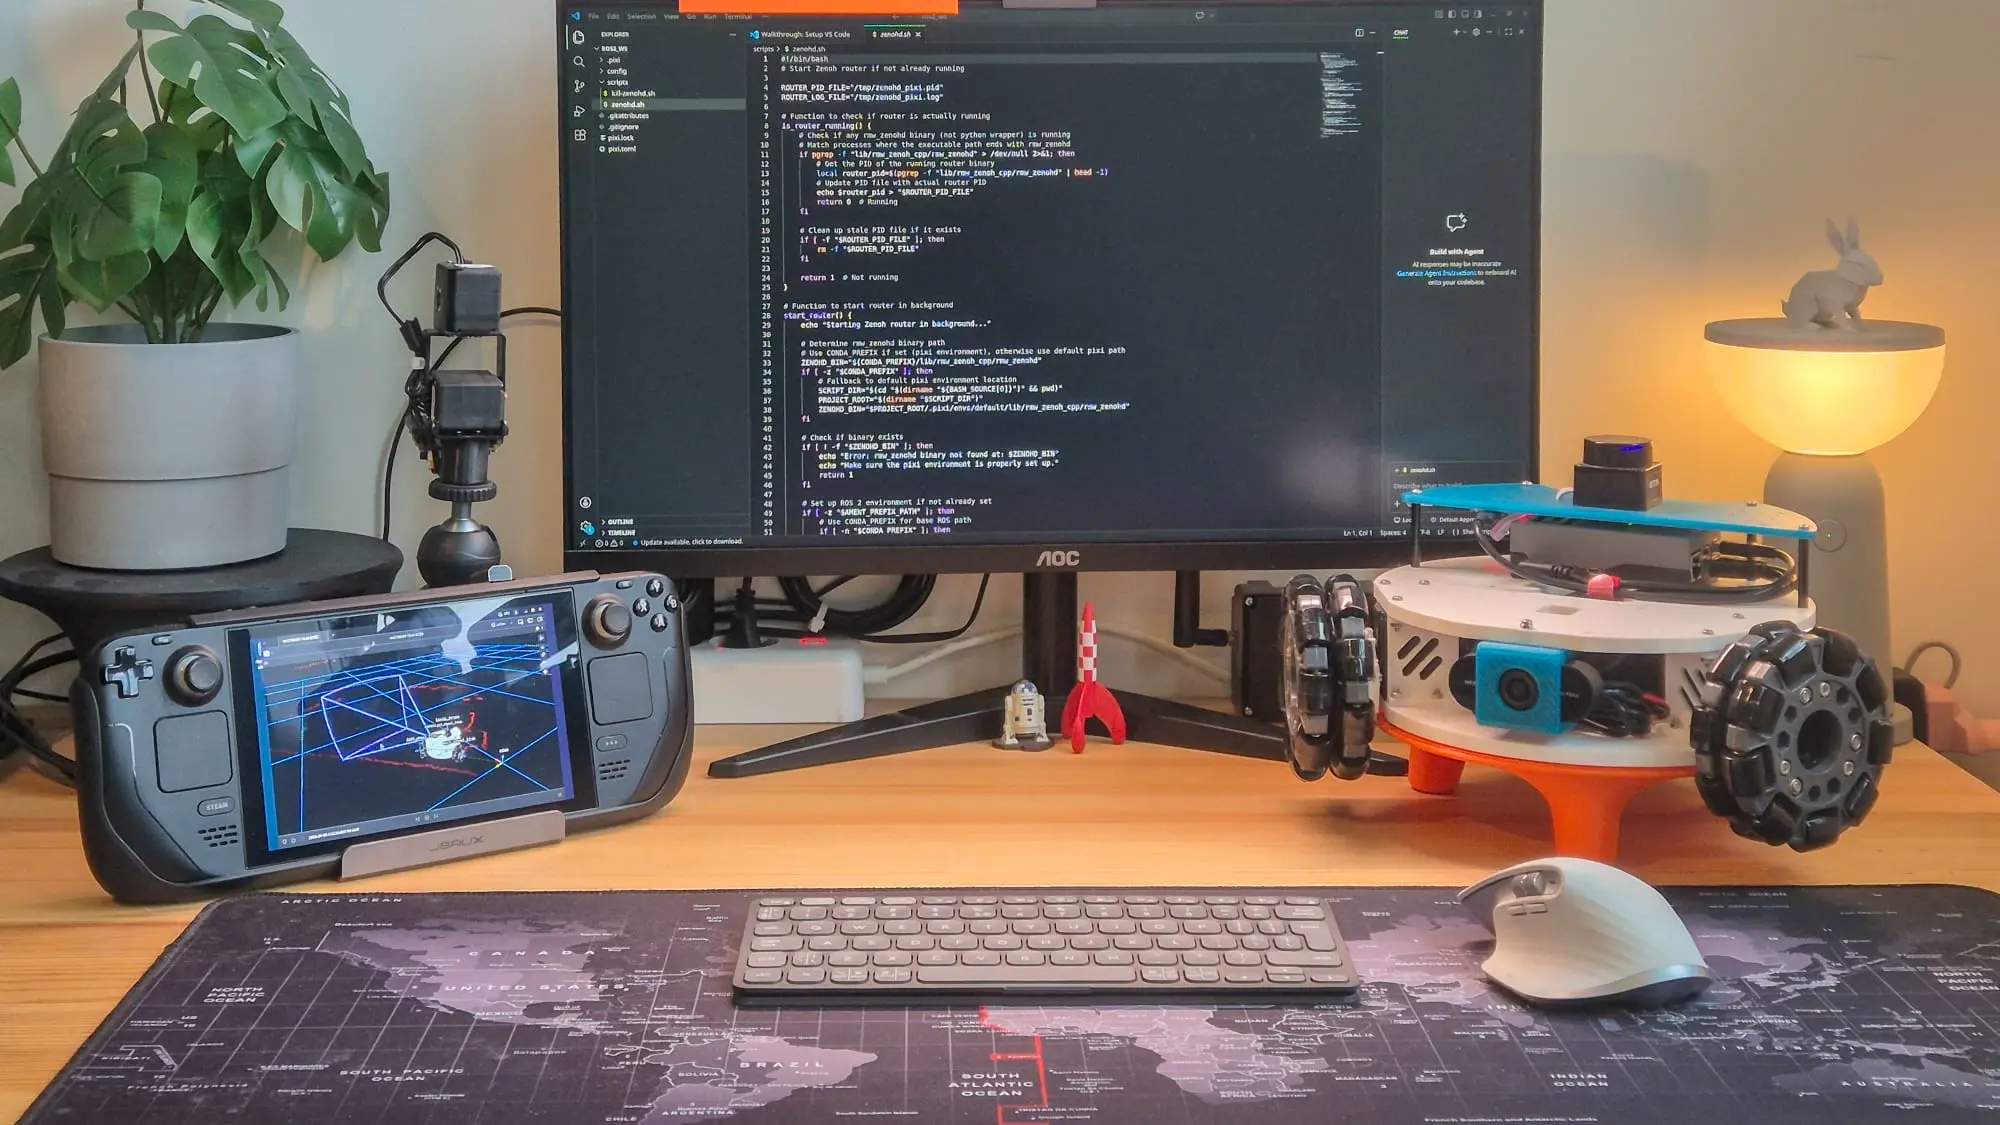
With everything in place - connectivity between the Steam Deck and the robot’s Raspberry Pi, the joy node reading controller input, and Foxglove visualizing data - it was time to put it all together.
My workflow looks like this:
- I start up the Steam Deck in desktop mode, which automatically launches the joy node via the systemd service. On the LeKiwi side, the Raspberry Pi is already running its ROS 2 stack with the Foxglove bridge (I run these manually for now, but I am considering adding them as services on the robot as well).
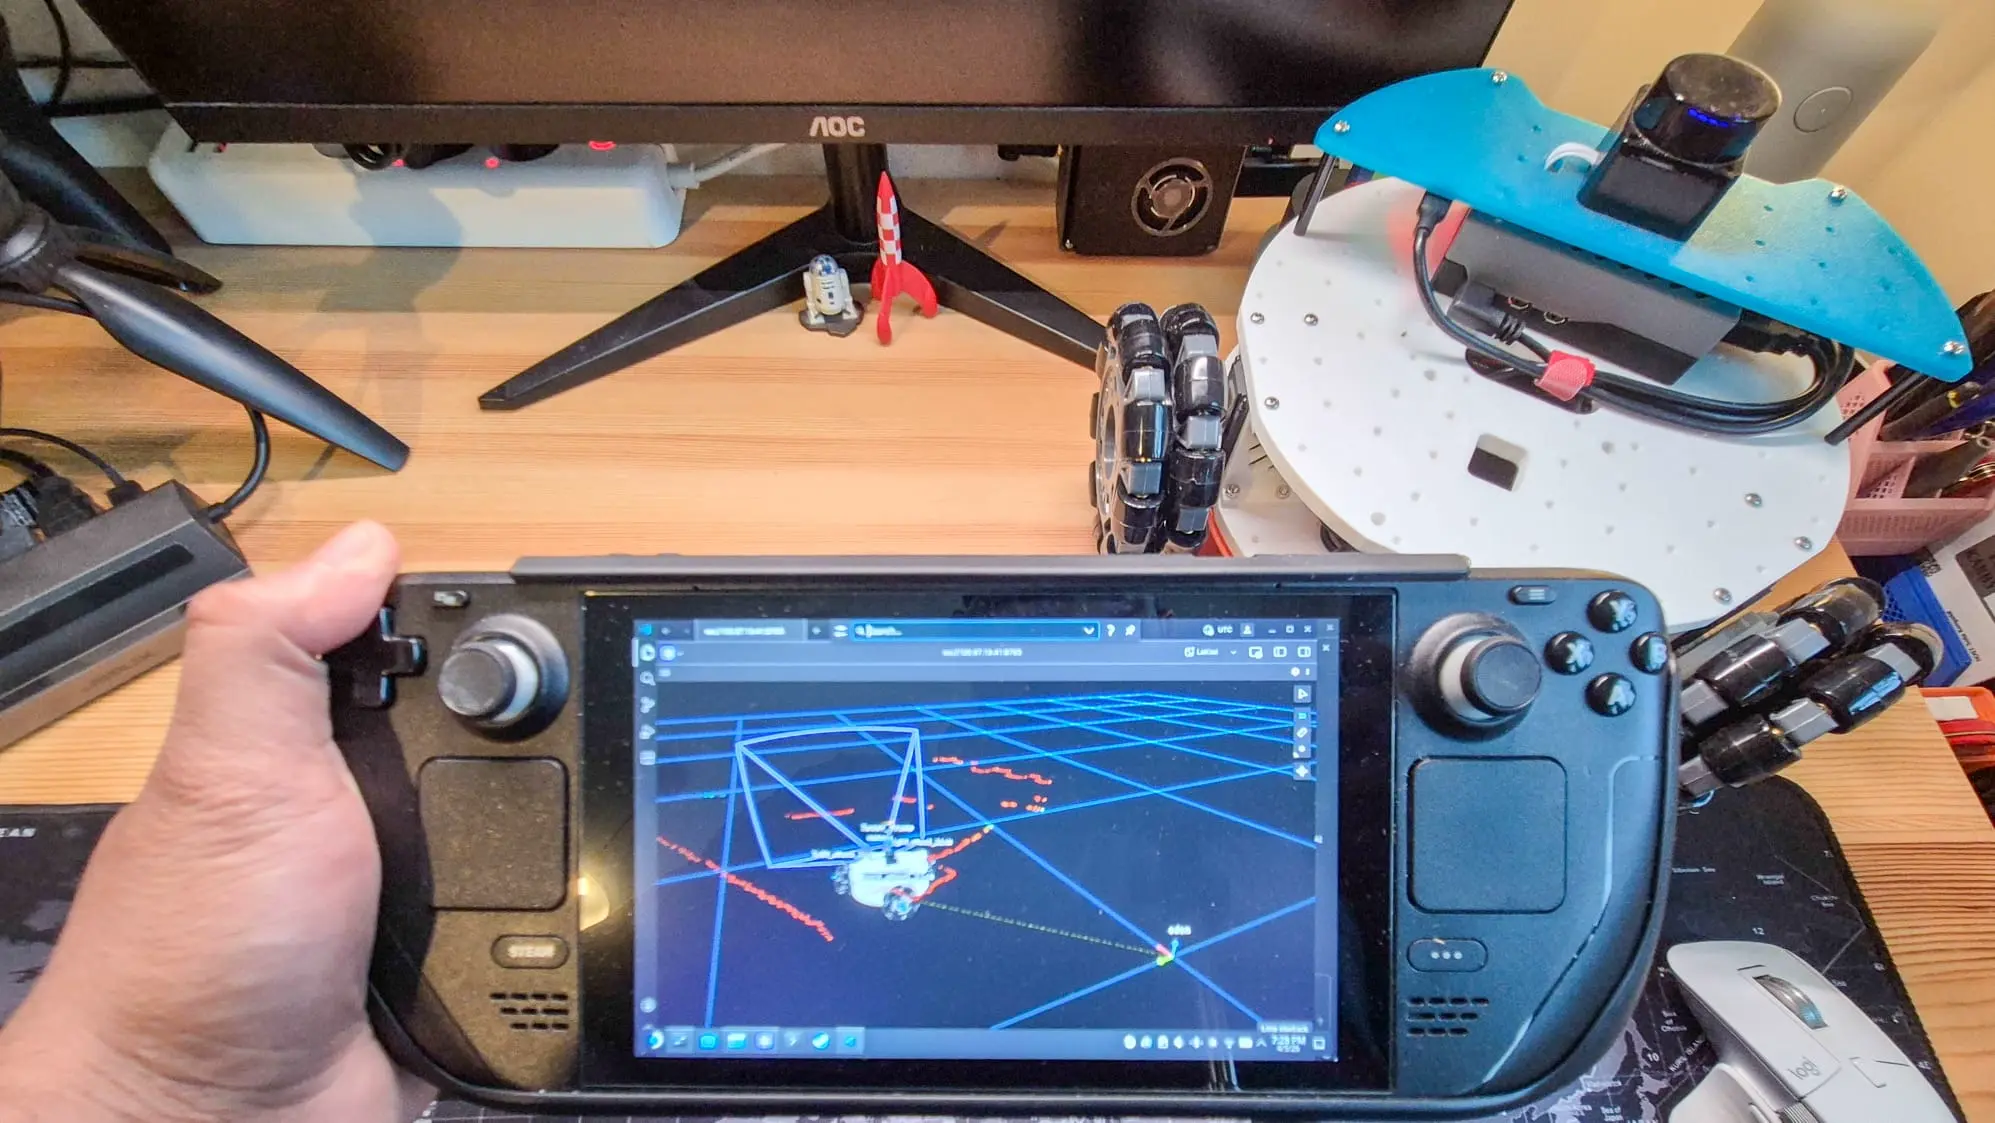
- I open the Foxglove app on the Steam Deck, connect to the bridge, and I am immediately seeing live sensor data - LiDAR scans, camera feeds, and the robot model in 3D (the meshes do take about a minute to load).
- Then I can just pick up the Steam Deck and drive. The built-in analog sticks control the robot’s omnidirectional movement, and I can visualize everything on Foxglove at the same time.
My layout shows only the 3D panel, which displays the robot model with live LiDAR scans, the image stream, and the URDF.

Wrapping up
The Steam Deck was already quite a capable platform for robotics work, but with the added service and tools like Pixi, my workflow has become much easier. Adding Foxglove to the mix shows exactly what the robot is seeing and doing as I drive it around. I can simply turn on the Steam Deck, and in a few clicks, I am ready to drive the robot and visualize.
This setup has now become my go-to for testing and teleoperating the LeKiwi. It is portable, self-contained, and requires zero extra hardware. Additionally, with Tailscale for networking and Zenoh as middleware, I do not need to worry about communication anymore.
My work on the ROS 2-powered LeKiwi is available on GitHub, but please note that this is an active project, so expect rapid and sometimes breaking changes.
Further reading
- Upgrading the LeKiwi into a LiDAR-equipped explorer — how the LeKiwi ROS 2 build started, with LiDAR integration and the first teleoperation tests
- Calibrating a monocular camera for the LeKiwi robot using ROS 2 — completing the LeKiwi perception stack ahead of this article
- The Foxglove Bridge and Tailscale VPN — how to set up live telemetry for your ROS system over a secure network, the same combination used here
- Announcing: Remote Visualization & Teleoperation — Foxglove’s native remote visualization and teleoperation capabilities